UPDATE 08/04 - 08:
New Guide for Ubuntu 8.04 -> Here
UPDATE 21/2 - 07:
Added walkthrough video of this tutorial.UPDATE 12/2 - 07:Added a few troubleshooting advice.Added more information on how to install packages via Synaptic.UPDATE 2/2 - 07:Updated link for the repository's authorization keyUPDATE 26/12 - 06:Updated Xorg.conf section a bit to make it more clear for novice users.UPDATE 19/12 - 06:Package authorization key updated.SVN Repositories added for the latest cutting edge version of Beryl.This is a follow-up on my guide for
Installing Beryl and Xgl on Dapper.
This is tested on the latest daily snapshot of Edgy.
My goal with this guide is to make it as easy as possible for everyone to install a 3D Desktop on Ubuntu Linux (Edgy Eft) with Beryl and Xgl, there will be no use of the terminal in this guide so everyone should be able to follow this guide and install a 3D Desktop on there very own and brand new installation of Ubuntu Edgy Eft.
Here is a video where I go through this guide, so if in doubt check out the video for help ->
Video HereFirst be first my system specs.
My system specs.Laptop is Dell D610
1GB of RAM
CPU is Intel(R) Pentium(R) M processor 1.86GHz
Graphic card is ATI Technologies Inc M22 [Radeon Mobility M300]
This is really the only relevant info for this guide.
The installation..
The first thing we should do is to add the needed repositories to your
Ubuntu installation, this is done by starting
System -> Administration -> Software Sources from the menu
At this time you will properly be asked to provide a password to continue, do so.
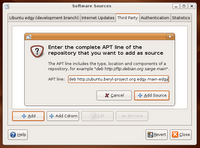
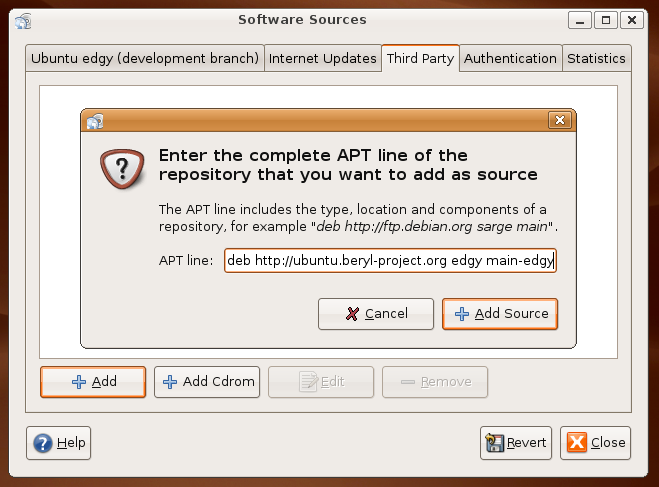
Now click on the
Third Party tab and click
the
Add button.
Copy the following info and click
Add Sources.
deb http://ubuntu.beryl-project.org edgy main
and click
Add Source.
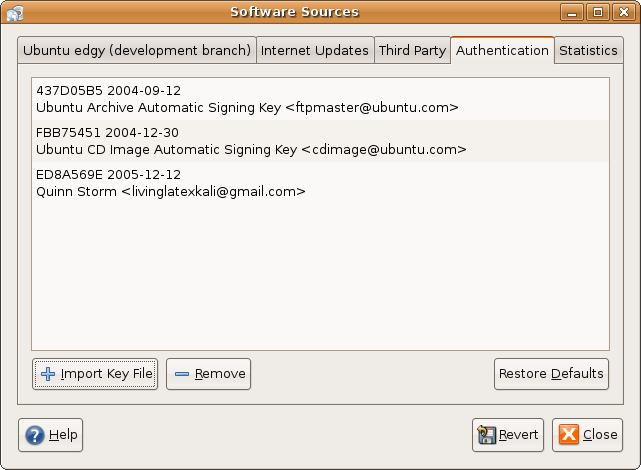
Now we need to download and install the key used to verify the packages we are going to install are genuine, right click on
this link and select
Save Link As...to save the key file needed.
Save the file on your computer, but remember where, I save it on my
Desktop.
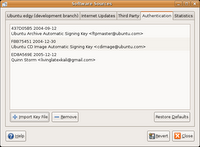
Then select the Authentication tab from the
Software Sources program and click the
Import Key File button to import the file.
Browse to the
root@lupine.me.uk.gpg file, select it and
press
OK to import.
Click
Close to exit.
NOTE:
If you want th
e latest cutting edge SVN version of Beryl you can use these repositories.
deb http://download.tuxfamily.org/3v1deb edgy beryl-svn
deb-src http://download.tuxfamily.org/3v1deb edgy beryl-svn
And
this key for authorization.
I've been using these packages my self for a while now, and they haven't been more unstable then the first mentioned version.
Now a dialog should ask you to reload your repositories, click
Reload.
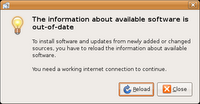
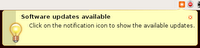
If you see this notification when the reload is completed you should update your system before continuing...
Next we need to install Beryl, Xgl and our ATI drivers.
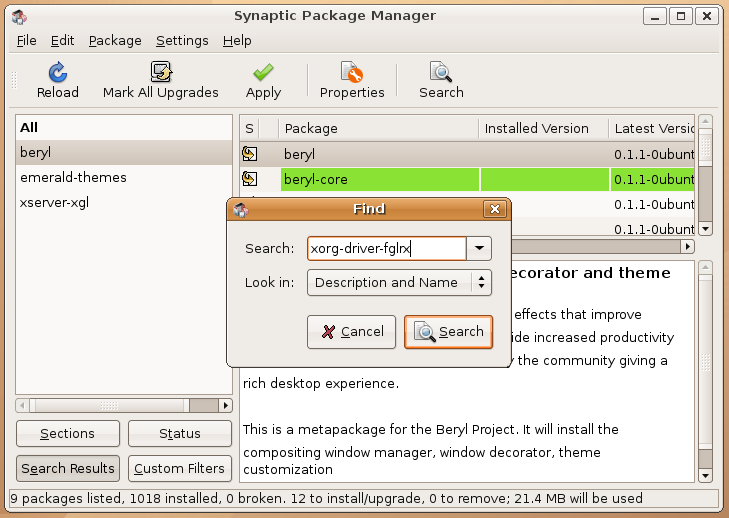
For this we will use Synaptic which is a graphical front-end to our package management system.
Start Synaptic from the menu
System -> Administration -> Synaptic Package Manager.
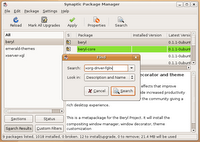
Now we need to find and install 4 key packages
xserver-xgl,
emerald-themes,
beryl and
xorg-driver-fglrx, the easiest way to do this is by searching and selecting as show on the pictures.
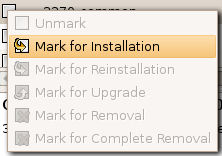
When found, "Mark" them for installation, and continue with the next one.
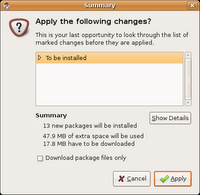
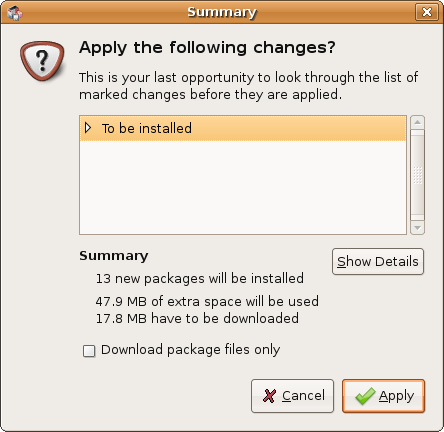
Then click
Apply to install the selected packages, and a Summary screen should appear where you have to click
Apply once again, do this to continue the installation.
When this is done we need to make sure the new installed ATI driver is going to be used, this is done by editing our Xorg config file.
For this we use our default text editor, press
Alt+F2 and type
gksudo gedit /etc/X11/xorg.conf
If it asks for password, then provide your password as prompted.
Now we need to find all lines containing either
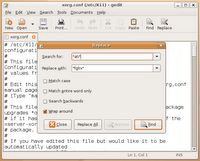 Driver "ati"
or
Driver "radeon"
or
Driver "vesa"
and replace it with
Driver "fglrx"
I recommend you use the
Replace function in the text editor from the top bar.
But make sure it is corrected, otherwise it wont work.
Usually it will be in a section similar to this
Section "Device"
Identifier "ATI Technologies, Inc. M22 [Radeon Mobility M300]"
Driver "fglrx"
BusID "PCI:1:0:0"
EndSection
The next thing we need to do is disable Composite in your configuration file, this is done by adding these lines to the configuration file.
Section "Extensions"
Option "Composite" "false"
EndSection
I added this section just after my module section, in my config its on line 42. But it really doesn't matter where this is added, as long it's in there, and not inside another section.
Now save the file and exit the text editor.
Next we need to create 2 new files in order to be able to run Xgl, for this we will again use gedit.
1. File - press
Alt+F2 and run
gksudo gedit /usr/bin/startxgl
Copy this contents into the file, save the document and exit the text editor.
#!/bin/sh
Xgl :1 -fullscreen -ac -accel xv:pbuffer -accel glx:pbuffer &
sleep 4
DISPLAY=:1
cookie="$(xauth -i nextract - :0 | cut -d ' ' -f 9)"
xauth -i add :1 . "$cookie"
exec dbus-launch --exit-with-session gnome-session
Now press
Alt+F2 again and type
gksudo nautilus /usr/bin
and click
Run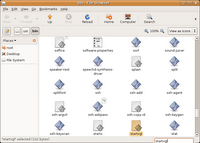
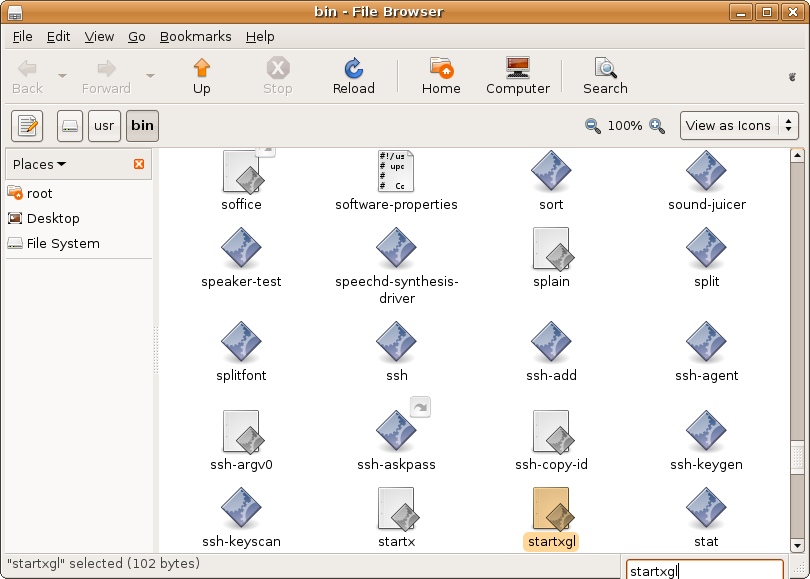
Find the file
startxgl which we just created, this can be done by just writing
startxgl.
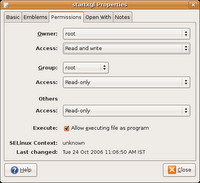
Now right click on the file and select
Properties and
select the
Permissions tab, and in the bottom there, check the box
"Allow executing file as a program" and
then
click Close.
2. File - again press
Alt+F2 and run
gksudo gedit /usr/share/xsessions/xgl.desktop
And copy the following contens into this file.
[Desktop Entry]
Encoding=UTF-8
Name=Xgl
Comment=Start an Xgl Session
Exec=/usr/bin/startxgl
Icon=
Type=Application
Save the document and exit the text editor.
Now we are almost finished and ready to startup our awesome new cutting edge 3D Desktop.
The last changes we need is to get beryl to start up when logging in, this is done from the menu
System -> Preferences -> Sessions under the tab Startup Programs we need to add the following entry
beryl-manager
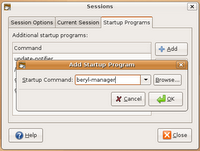
Click
OK and then
Close the sessions properties.
So now it's time to reboot and start playing with your new desktop environment.
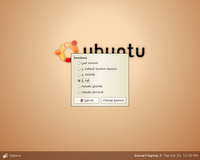
When you come to the login screen you will have to go down in the left corner and click sessions and select Xgl from the list and click
Change Session.
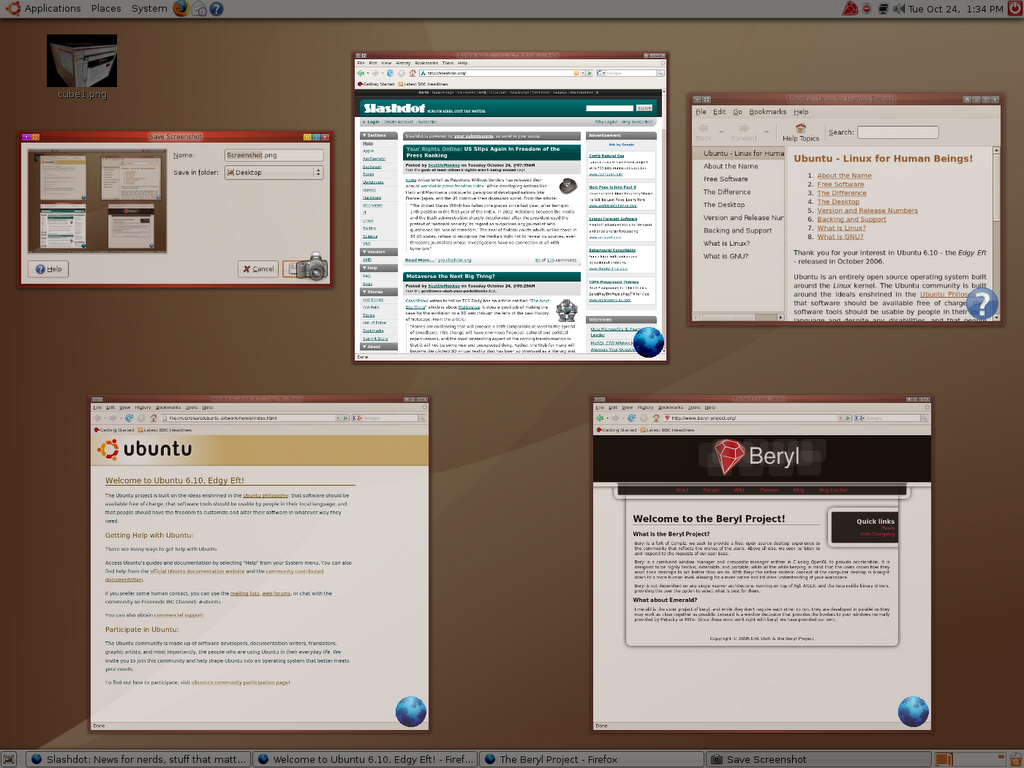
Now you can login and try out Xgl and Beryl.
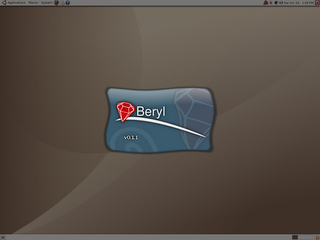
By now you should see a fancy wobbely splash for Beryl, when it starts, and all the Beryl effects should be avaiable for you to use..
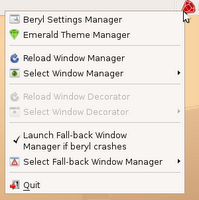
You should also see a gem in the system tray, from which you can change your Beryl setting and your Emerald themes, I suggest you look at it.
Some default Beryl and XGL keys are
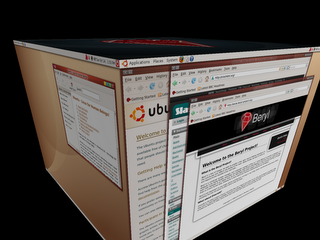
Ctrl + Alt + Left/right arrow key - Switch cube side.
Ctrl + Alt + Shift + Left/Right arrow key- Same but moves the window in fucus to with.
Ctrl + Alt + Hold Left Mouse Button - Rotate the cube in free view ( Nice effect :-D )
Alt + Tab - Switch between tasks
Ctrl + Alt + Tab - Switch between tasks on all cube sides.
Super (Windows Key) + Right Mouse button or Wheel Buttom - Will enable Zoom
All this can be changed from the Beryl Setting.
Hope you liked this guide and found it useful.
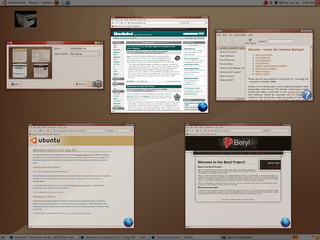
My Friends new desktop - Nice to see another xp installation disappear.
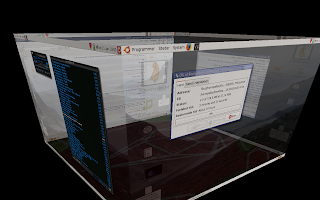
Enjoy.
Thanks to the guys at
beryl-project.org and
Ubuntu.comSome Trouble Shooting advice:1. Make sure you do indeed have an ATI card!
Either open a terminal from
Applications -> Accessories -> Terminaland type "lspci" and examine the output.
Or open
System -> Administration -> Device Manager and examine the devices to find your ATI Graphic Card.
2. Check list of supported ATI cards ->
http://ati.amd.com/support/driver.html3. When I Start My Computer I Get Text Instead of a Graphical InterfaceIf this is the case, follow this section from the Ubuntu Book and then start from scratch with the guide and check everything is alright and exactly as written.
4. Check if OpenGL is enabled.
Start a Terminal from
Applications -> Accessories -> Terminal.
Type in "
fglrxinfo" on the command line, you should see a similar output to this if your graphic card is supported and working.
lennart@lennart-laptop:~$ fglrxinfo
Xlib: extension "XFree86-DRI" missing on display ":1.0".
display: :0.0 screen: 0
OpenGL vendor string: ATI Technologies Inc.
OpenGL renderer string: MOBILITY RADEON X300 Generic
OpenGL version string: 2.0.6011 (8.28.8)
If this is the case, and your using the "stable" version of beryl I suggest you try and use the SVN repositories instead, and see if that will work for you.
5. If Everything seems to work fine but Beryl is not running check that Beryl is selected as default Window Manager as shown on the picture here.
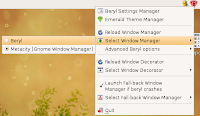
Right click on the Beryl Icon and check it like this