This is tested on the latest daily snapshot of Ubuntu 8.04 Hardy Heron.
This is a follow-up on my guide for Ubuntu Edgy guide.
I still receive responses on my older guide from people with problems getting this cool desktop feature to work, I hope that with this guide I can show people just how simple and user friendly Ubuntu Linux have become throughout time, and also to encourage other people to follow the same line when writing documentation for the novice user.
Enjoy.
First things first, my system specs.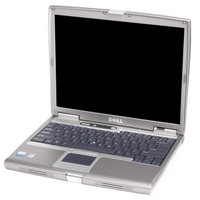
My system specs.
Laptop is Dell D610
1GB of RAM
CPU is Intel(R) Pentium(R) M processor 1.86GHz
Graphic card is ATI Technologies Inc M22 [Radeon Mobility M300]
The graphic card driver:
In this first part of the installation we will be installing the proprietary driver for graphic card in order to gain maximum performance from the system.
You might not have the same graphic card as me, but the steps should be similar to yours even if the graphic card is different, but note that not all graphic cards have a proprietary driver available or might not be necessary at all.
First start the program that controls the hardware drivers as shown in the picture below.

If you are asked to enter your password then you have to do so.
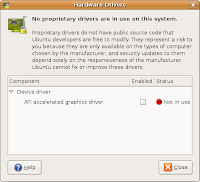
The main windows should look similar to this.
Check the "Enabled" box to install.
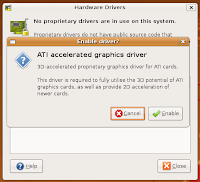
If you see the following confirmation box appear chose "Enable" to continue.

And now watch the driver install onto your system.
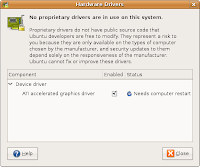
When finished click "close" to continue.
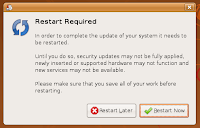
And reboot your system when asked, to complete the installation of your graphic card driver.
Setting up 3D Desktop:
Now the time has come to prepare the system, by this we will need to enable Compiz, it comes installed with Ubuntu by default.
First start the "Appearance" Application as shown below.

If you are asked to enter your password you need to do so
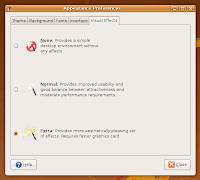
When it's started, select the "Virtual Effects" tab and then select "Extra", and "Close" then application.
If it ask you to confirm and you can see what is on the screen, press "Keep settings".

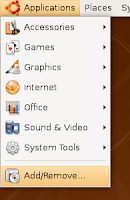
Now you need to install one applications to help you configure your 3D desktop, to do so start the "Add / Remove Applications" program an show here.
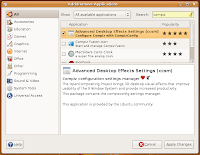 Here you need to do several things.
1. Under "Show" select "All available applications"
2. Under "Search" write in "compiz"
3. Tick "Advanced Desktop Effects Settings"
"If it asks you to enable comunity maintained software, choose to do so"
4. Click "Apply" to apply the changes and watch the software install on your computer.

When the application is installed click "Close" to continue.
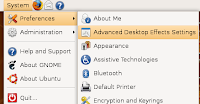
Now that we have installed the application, we can start configuring our desktop, start the "Advanced Desktop Effects Settings" application to configue the 3D desktop.
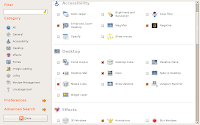
When the application have started, the first 2 plugins we will enable is "Desktop Cube" and "Rotate Cube" to test it works, tick the checkbox on both, as shown in the picture.

It might come up with a warning of conflicting plugins, click "Disable" to continue.
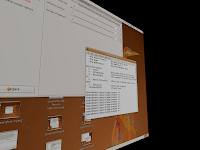 To test your rotating "cube" press and hold down
"Alt + Ctrl + Left-Mouse-Button + Move Mouse"
Most likely you will only have 2 sides by now.
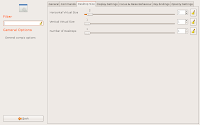
This can be changed in "Advanced Desktop Effects Settings" under "General Options" and tab "Desktop size", change "Horizontal Virtual Size" as shown here.
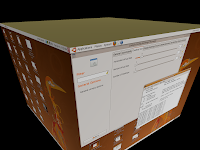
Now you should have a full rotating cube, test it with the commands shown above.
I wont be going into more details of the configuration of your desktop, but will let you play with it yourself, basically don't be afraid to look at all the plugin's and test them out, if you click on then you can find help see how they are activated and change them to your own preferences.
After at little bit of playing around you can easily get a cool looking desktop.


Thats it for this guide, tutorial etc.
Hope you enjoyed it and it worked out great for you.
Comments and suggestions are most welcome.
-Lennart

